Wet-felting with Children, Making Felted Butterflies

Wet-felting is a fun and easy craft to introduce to children. Using very simple materials you can create beautiful shapes and, depending on what kind of cut-out you use, perhaps an animal, plant, or figure.
We created butterflies using a pancake cut-out. Cookie-cutters will work best. There are some beautiful copper and stainless steel cookie-cutters out there.
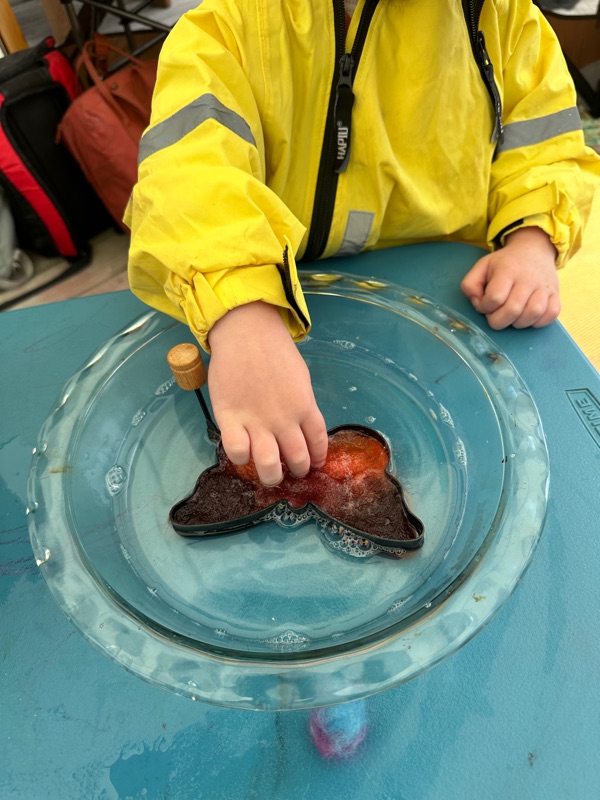
I let the children pick 3-4 colors of dyed wool. Then we gently layered them to create a pattern or shape and poured warm water and natural dish soap on the wool. This project works best with fairly hot water to start. I usually pour the hot water and start poking the wool to get it started, and once the water is cool enough let the children start to work with the wool.
I encourage them to add more wool as we go along, layering it until it feels substantial enough and even all the way across the shape.
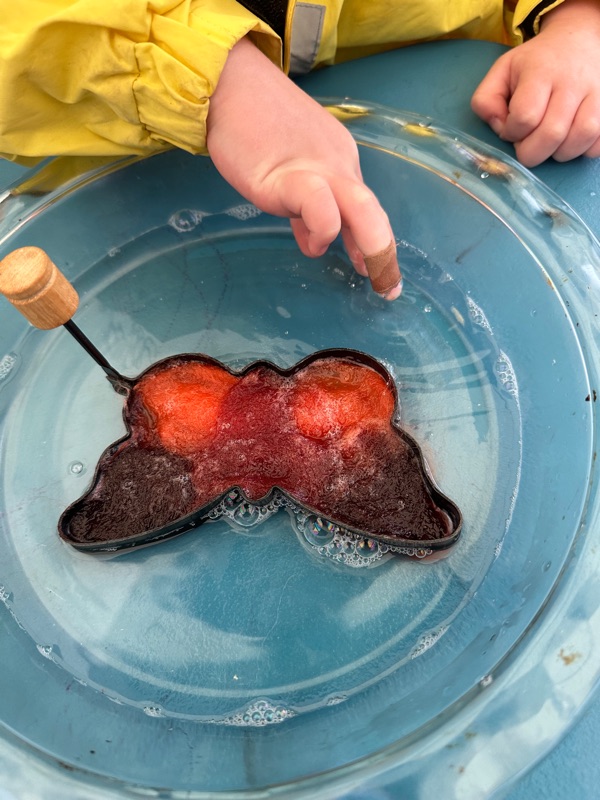
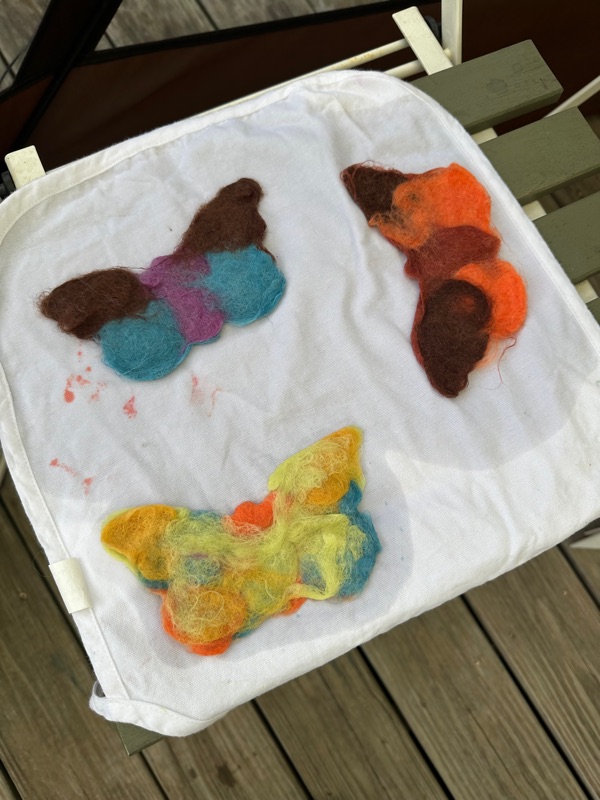
Once the wool is firmly shaped the child can lift the cookie cutter off and we transfer the wet-felted creation to a dish towel to press together and then let dry.
Once dry you could then hang your creation or needle-felt any additions you may see fit.
In the Waldorf nurseries and Kindergartens I have used this method to make Valentine's hearts. I look forward to making more with the cookie-cutters we have.
Tips:
-Start with hot boiling water poured into a pouring vessel.
-Pour hot water and a bit of soap to start poking wool within your shape. Let child shape the wool once the water is warm but not hot.
-Add more hot water, soap, and flat sheets of gently handled wool as needed to design, form, and thicken your shape.
-Constant poking will make the fibers mesh and stick together.
-For more complex shapes (animals, figures) needle felt details into final position after it completely dries.


Comments
Post a Comment