Creating your own "lazure" walls with house paint, a Waldorf inspired activity

Let me start off by saying, if you are looking to find out how to make a traditional Waldorf lazure wall this post isn't for you. That process takes an incredible amount of time and is very costly, with basic kits starting at around $250. This post details how we took some pointers from lazuring and made it our own, for our house, using materials that were easily accessible to us via Lowe's.
So, how should you go about beginning this seemingly arduous process?
Start by picking out your color range.
This could mean ultimately picking 2 colors and exploring how they will shift together, or if you want to be super ambitious maybe you pick 3 colors. I wanted yellows, pinks, and blues for my son's room. I think a range from yellow to pink would be perfectly lovely as well, or from pink to blue. I have even seen yellow to green work well.
Have a second opinion when picking out paints.
It can be pretty stressful actually heading to the store and purchasing paint. Not only is it costly, you're not really sure what it's going to look like when things are said and done. Having my husband with me to see the colors all together in the hardware store helped me come to my ultimate three colors.
Choose low VOC paint.
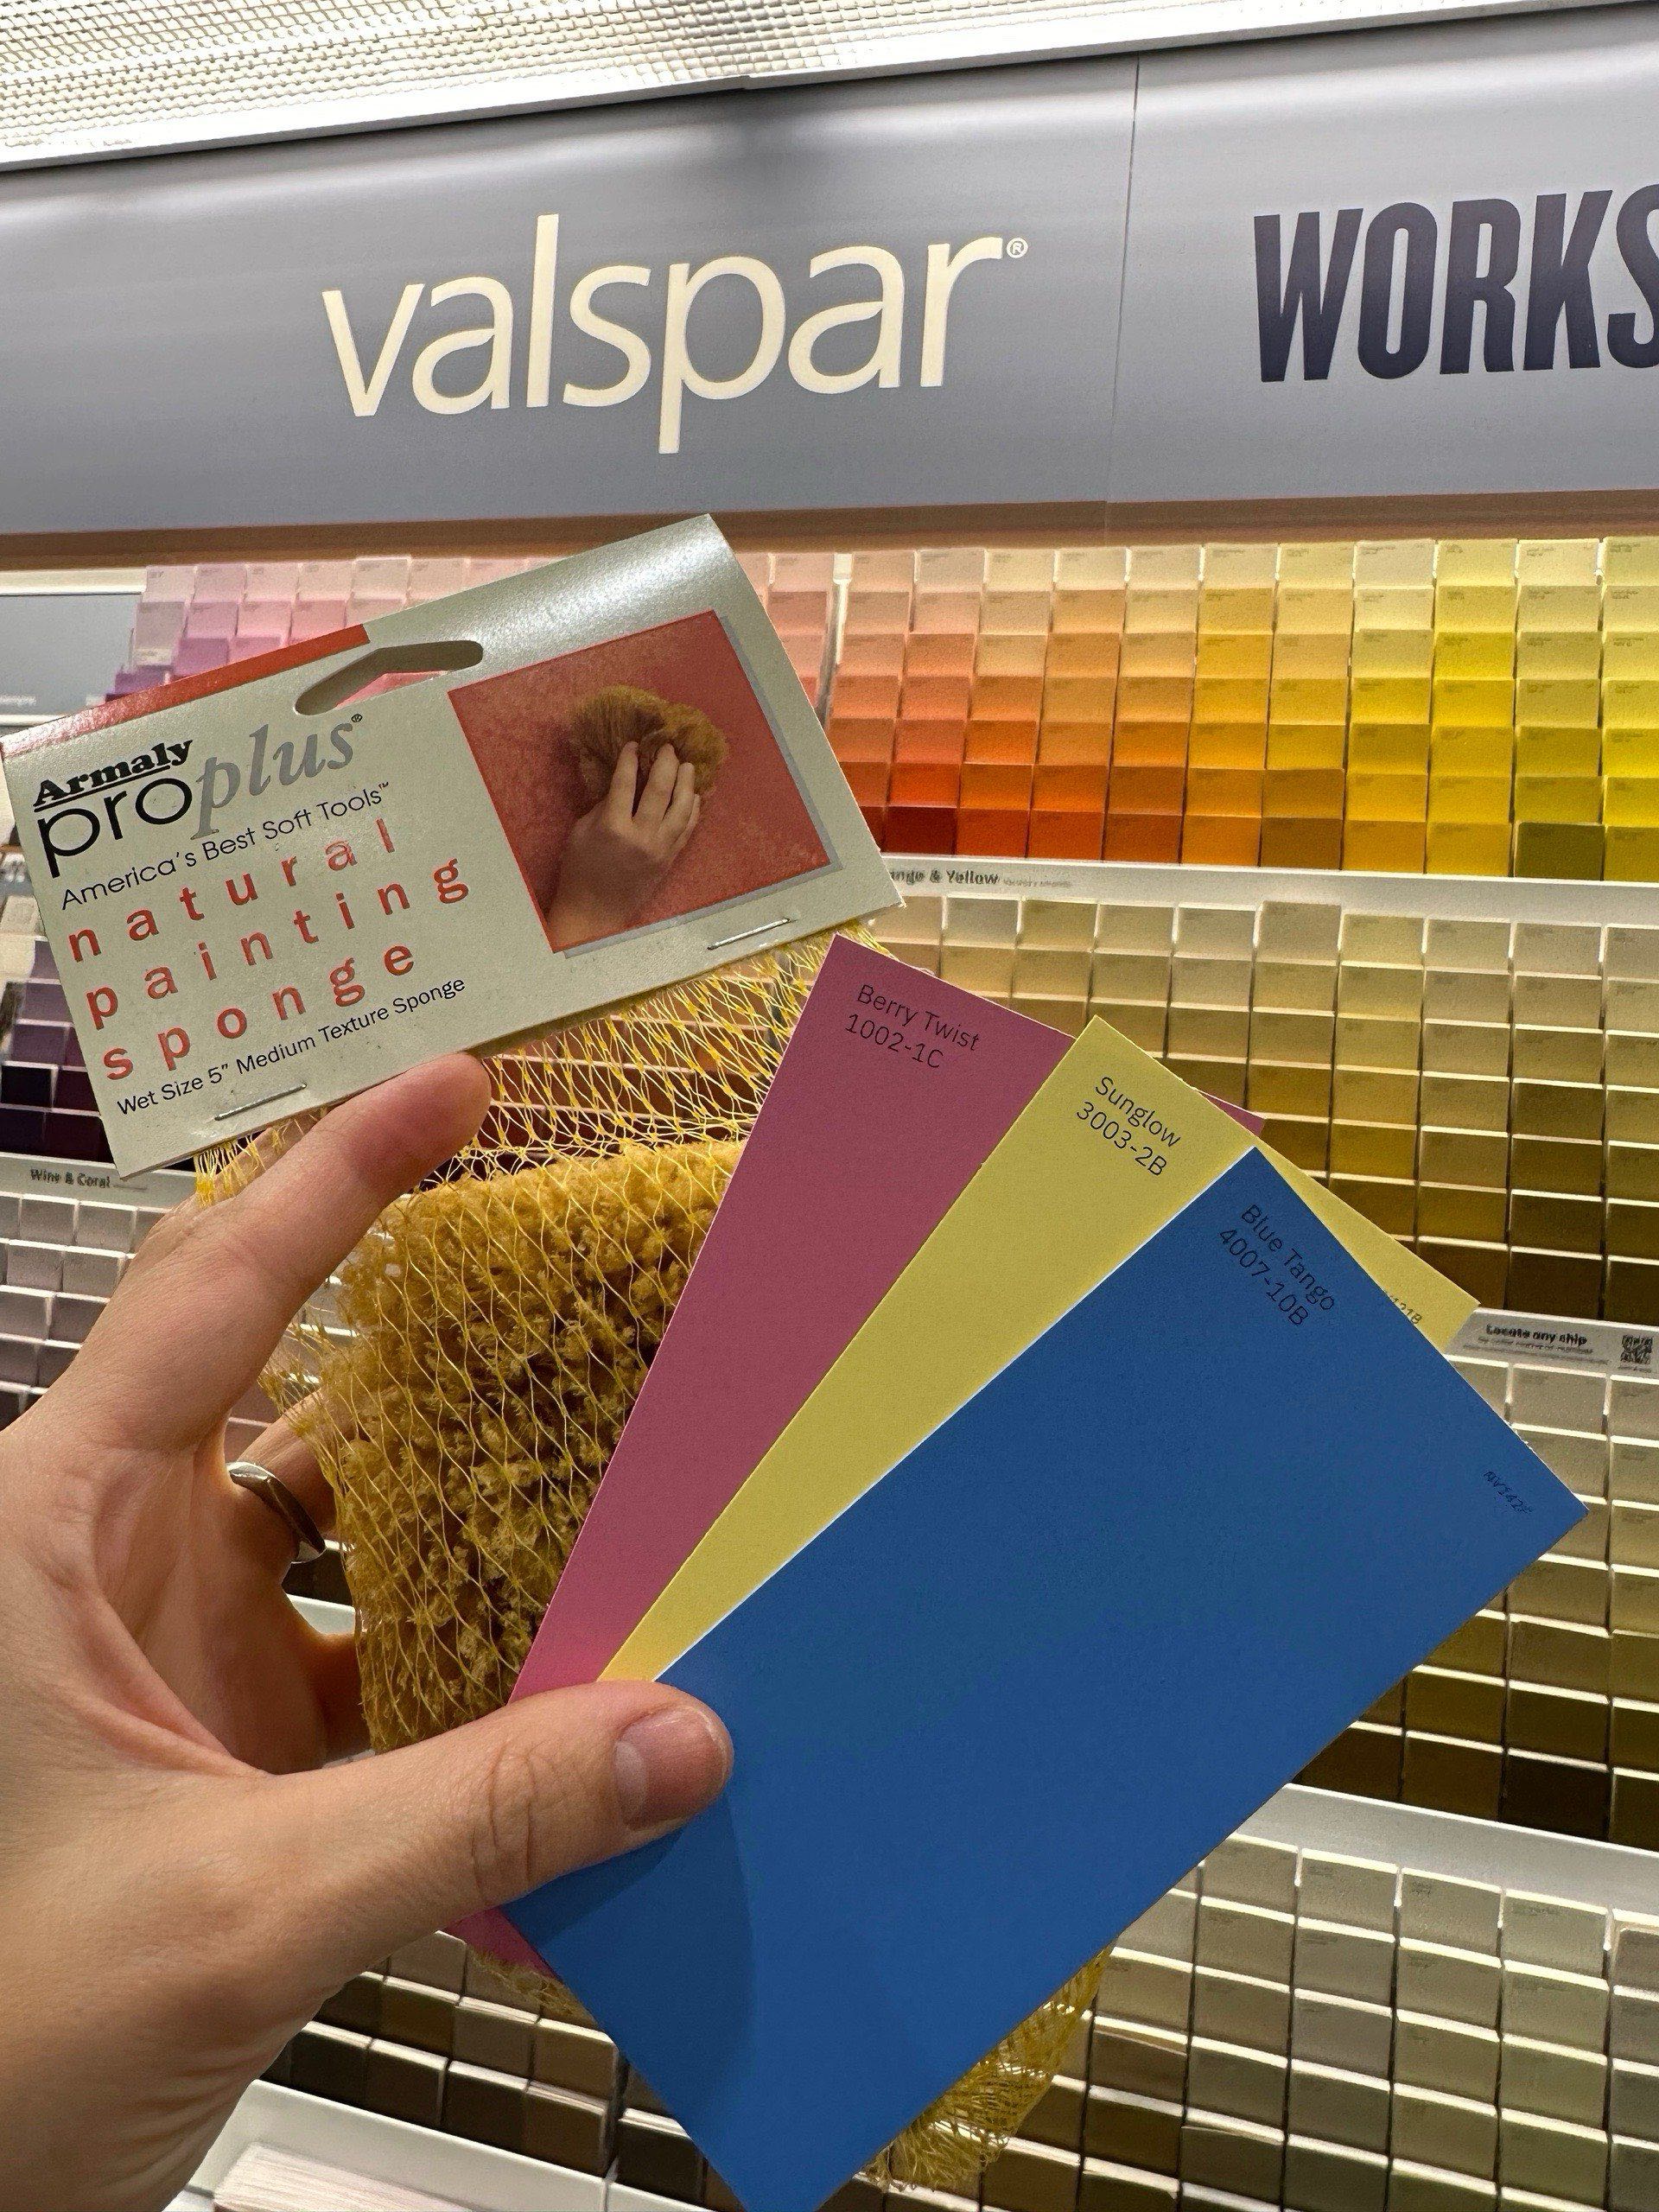
Most companies nowadays offer low VOC (volatile organic compounds) or zero VOC paints. Just ask for help at whatever store you choose. If you have kids they're most likely going to want to be a part of this new and exciting painting project. We went with Valspar, which is offered at Lowe's and came to the following decesions for our colors based on some Pinterest pictures of "Waldorf Lazure Painting".
These are the exact colors we chose:
Yellow - "Sunglow" 3003-2B
Pink - "Berry Twist" 1002-1C
Blue - "Blue Tango" 4007-10B
Don't forget the sponge.
We went with a medium texture sponge right there in the paint section.
Choose how your colors will flow.
Take into consideration the shape of the space you will be painting. Is it an entire room or just one part? How will the color shift through the space? What is the desired effect?
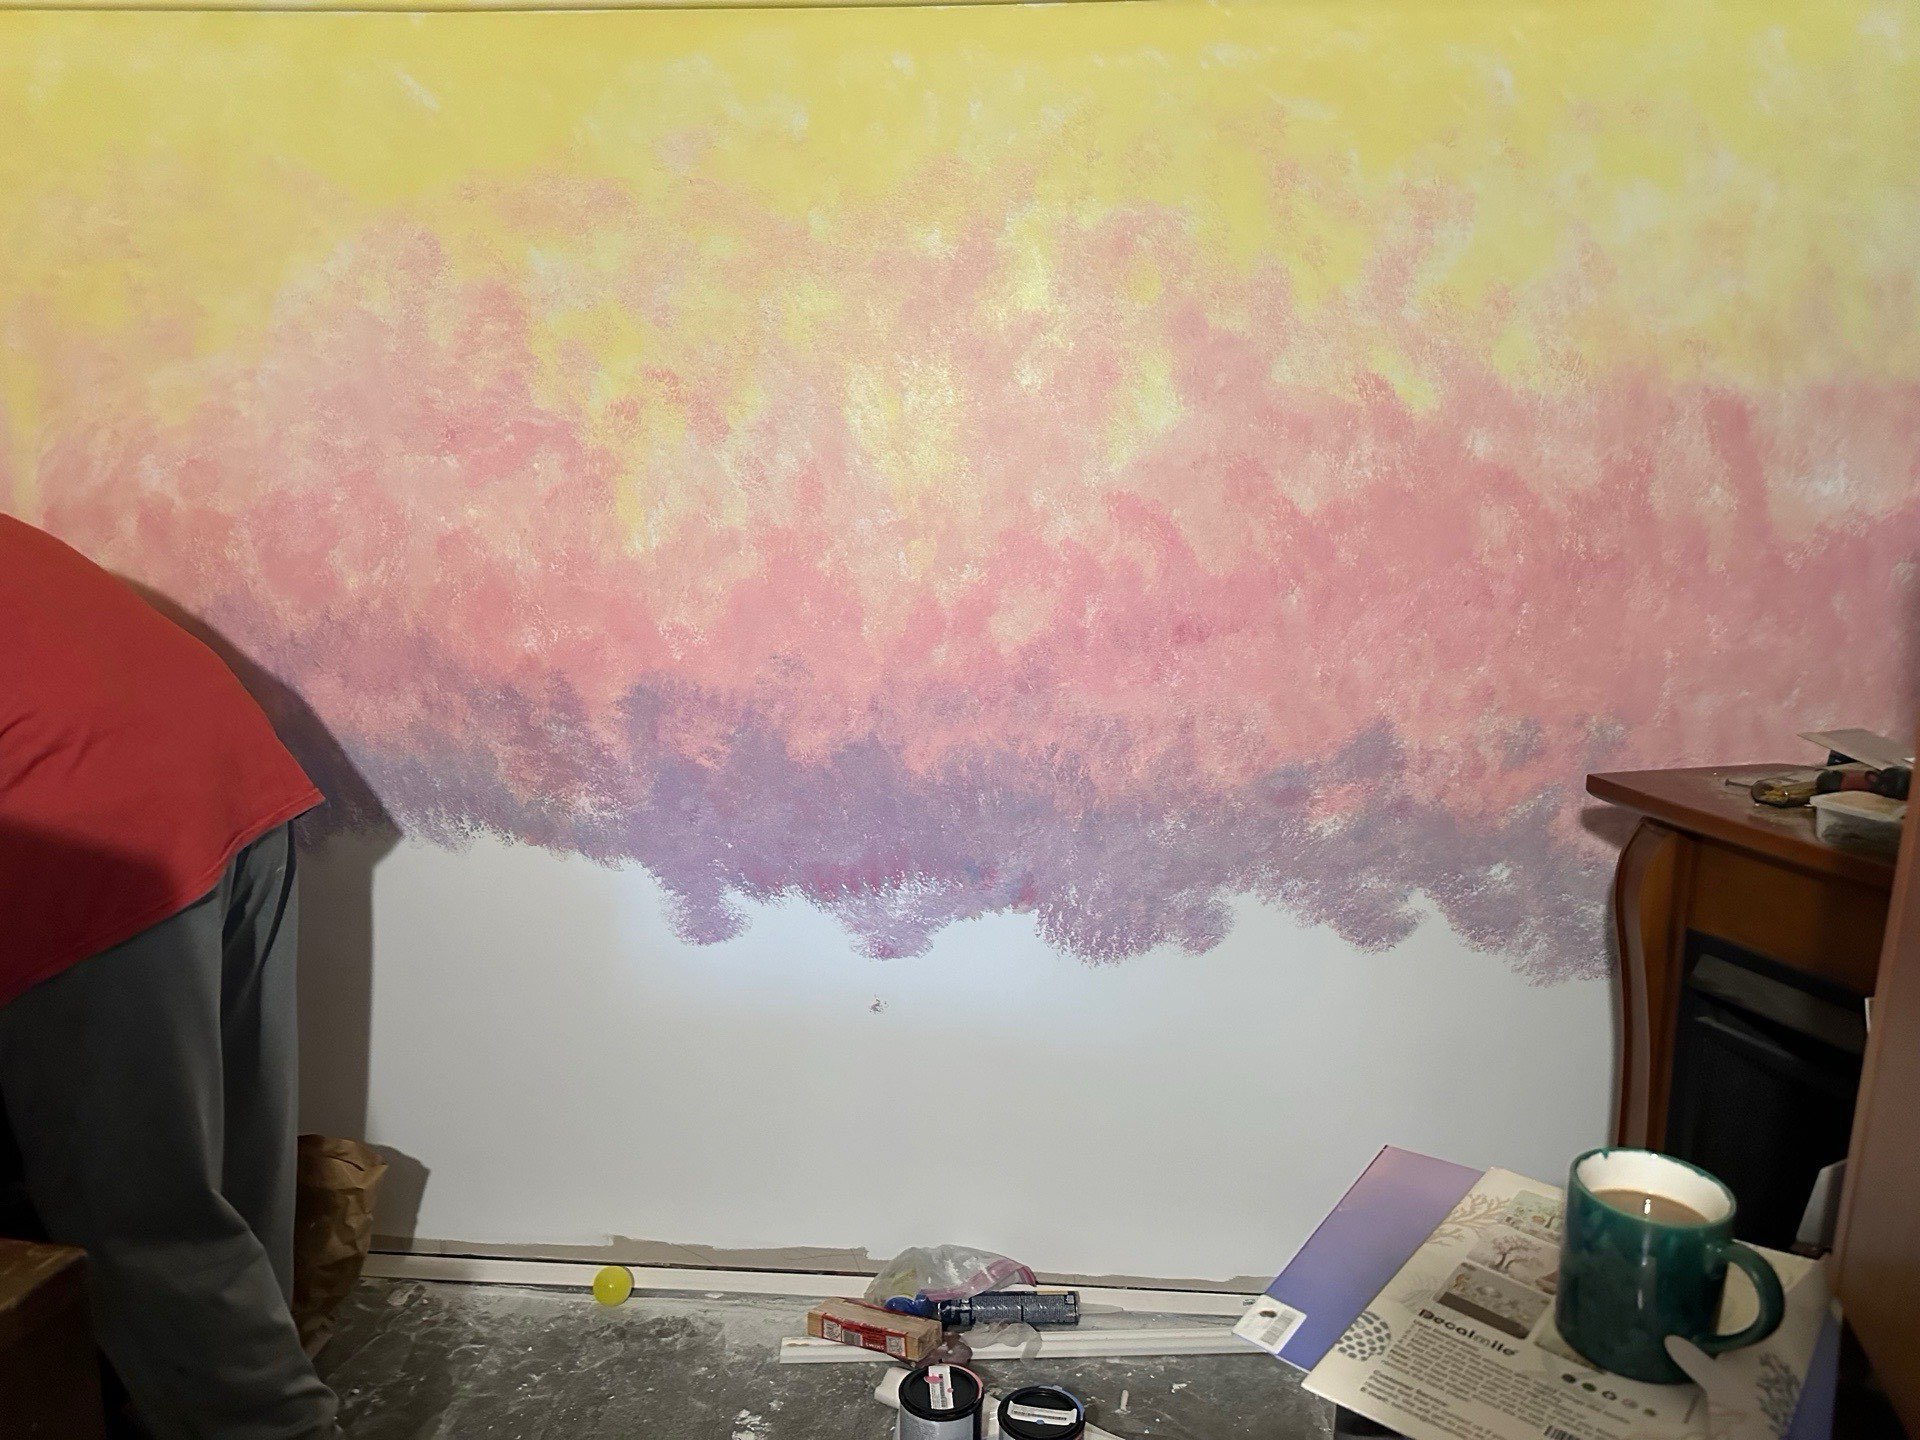
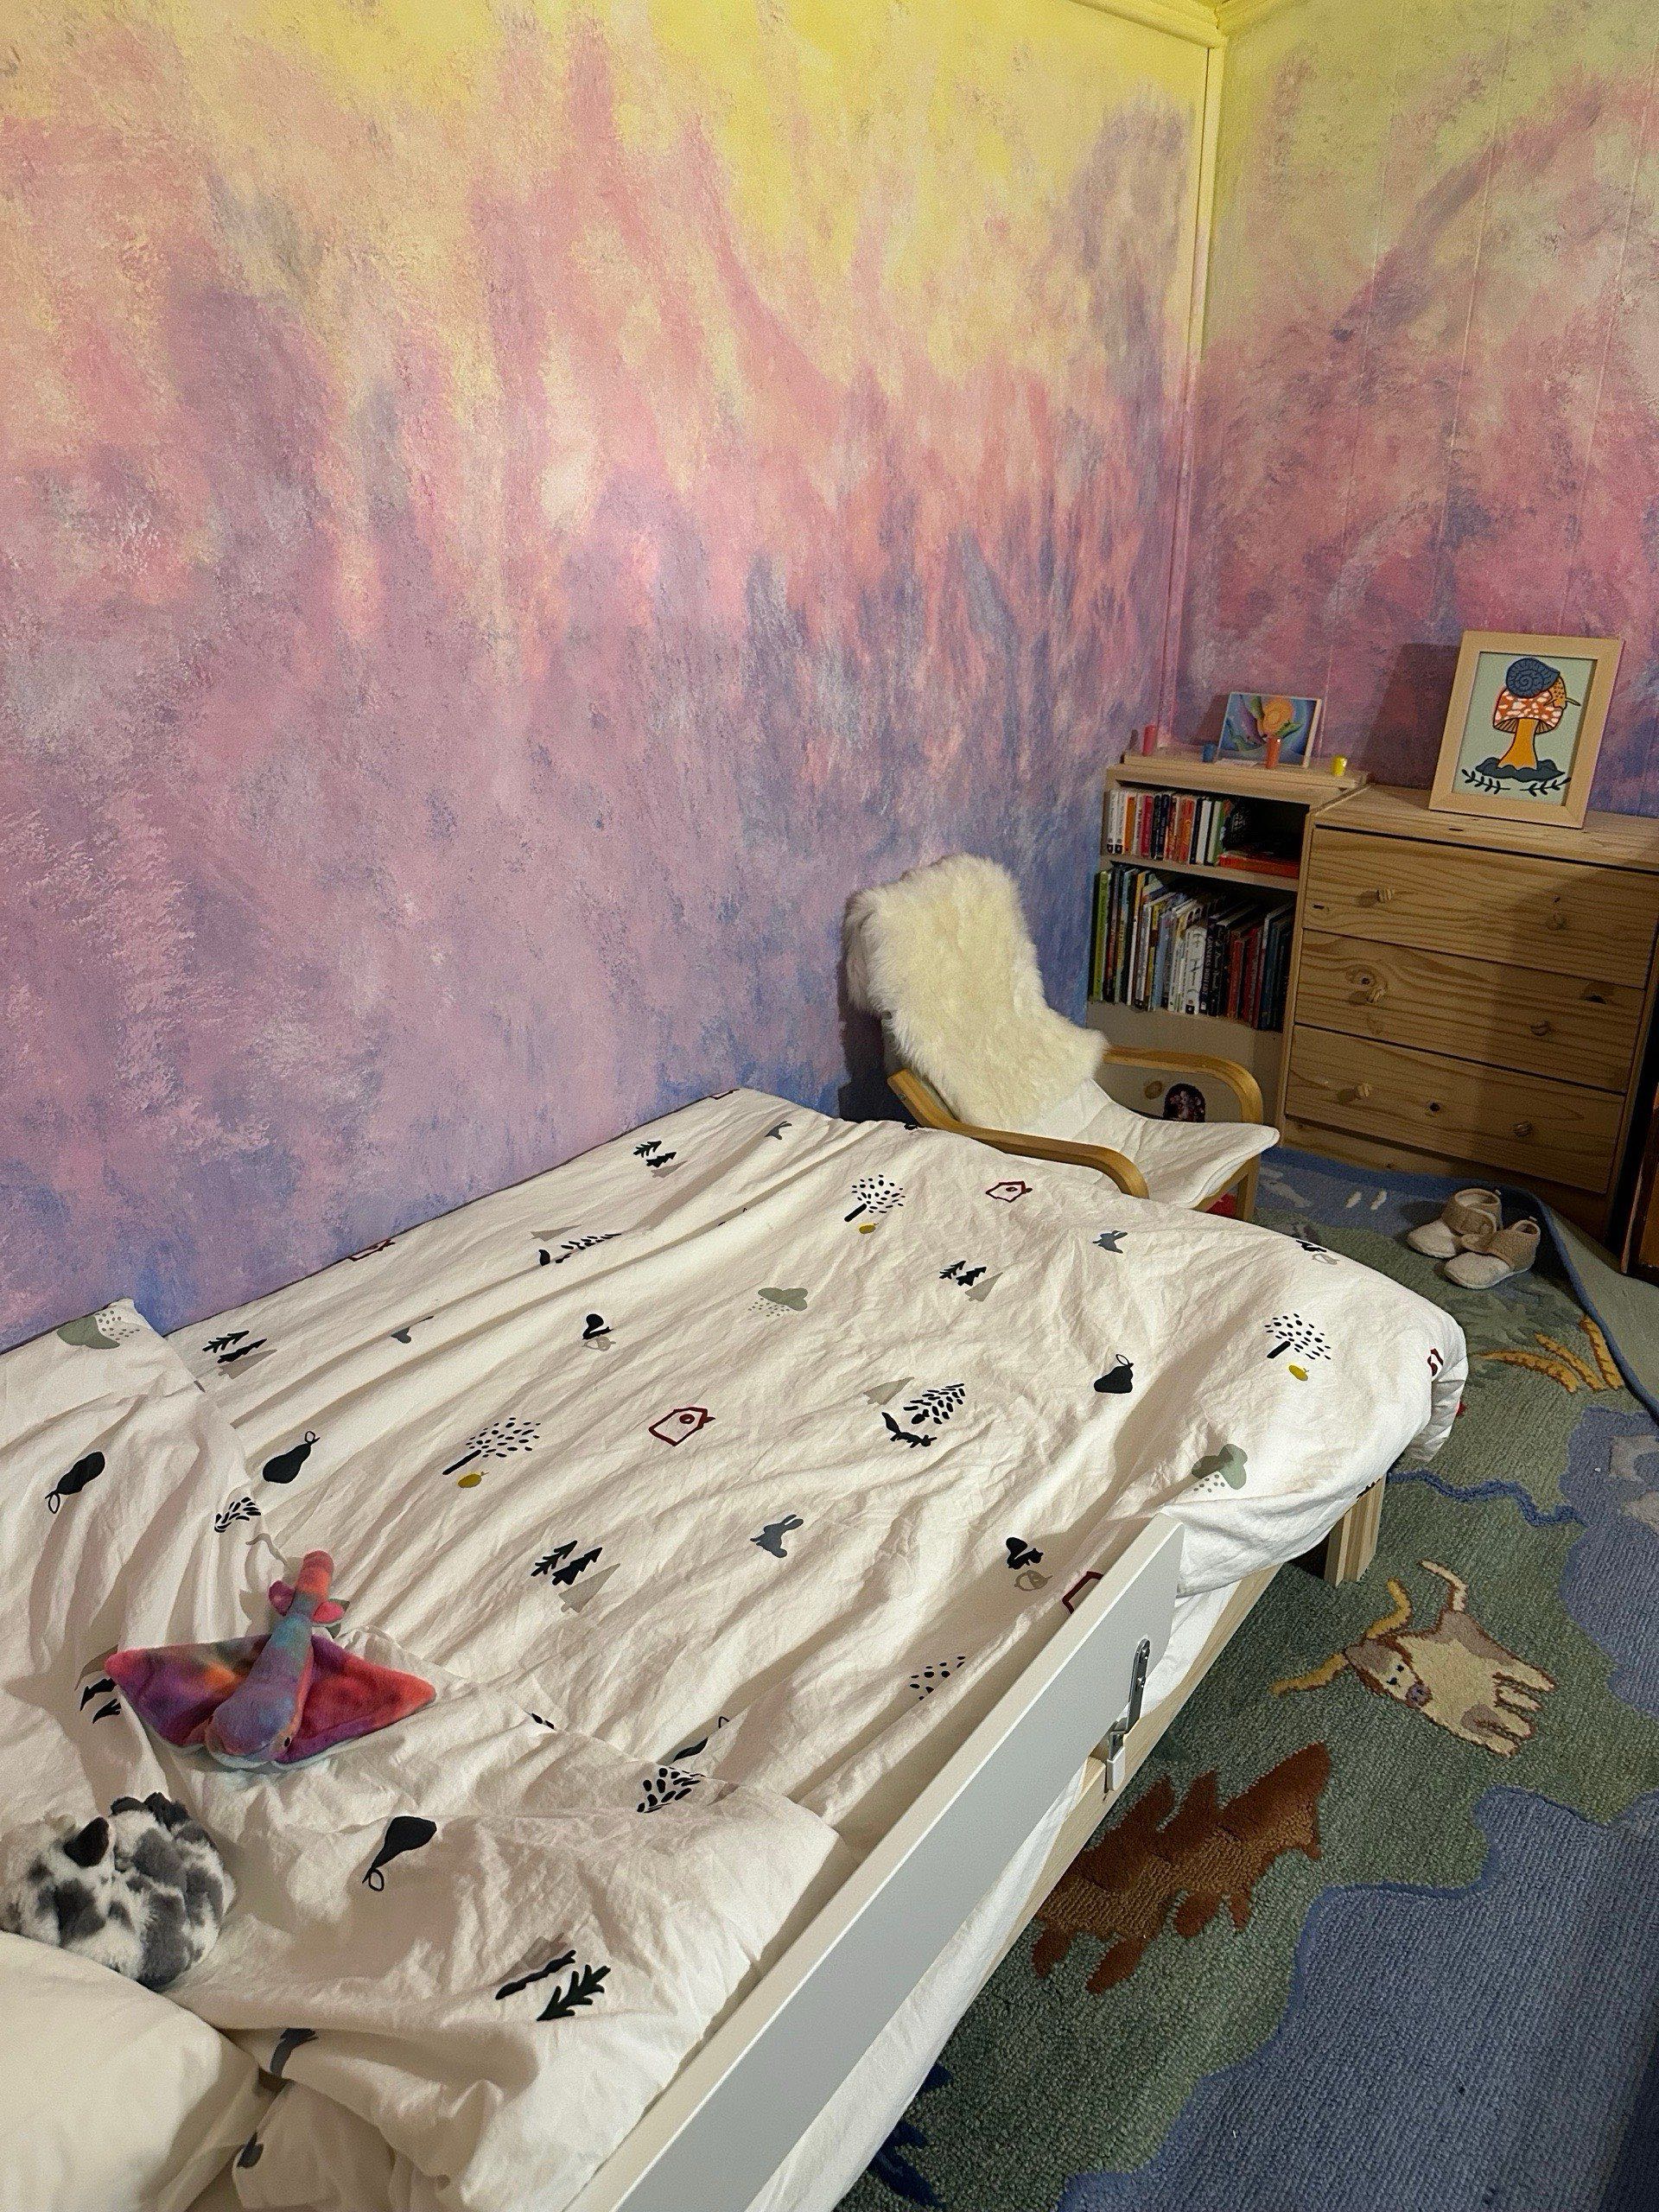
For us, we wanted the colors to brighten up and make the space a comfortable and desirable place to be. Shifting our toddler into his own bed is no easy task. We wanted the space to be comforting, beautiful, and fun for him.
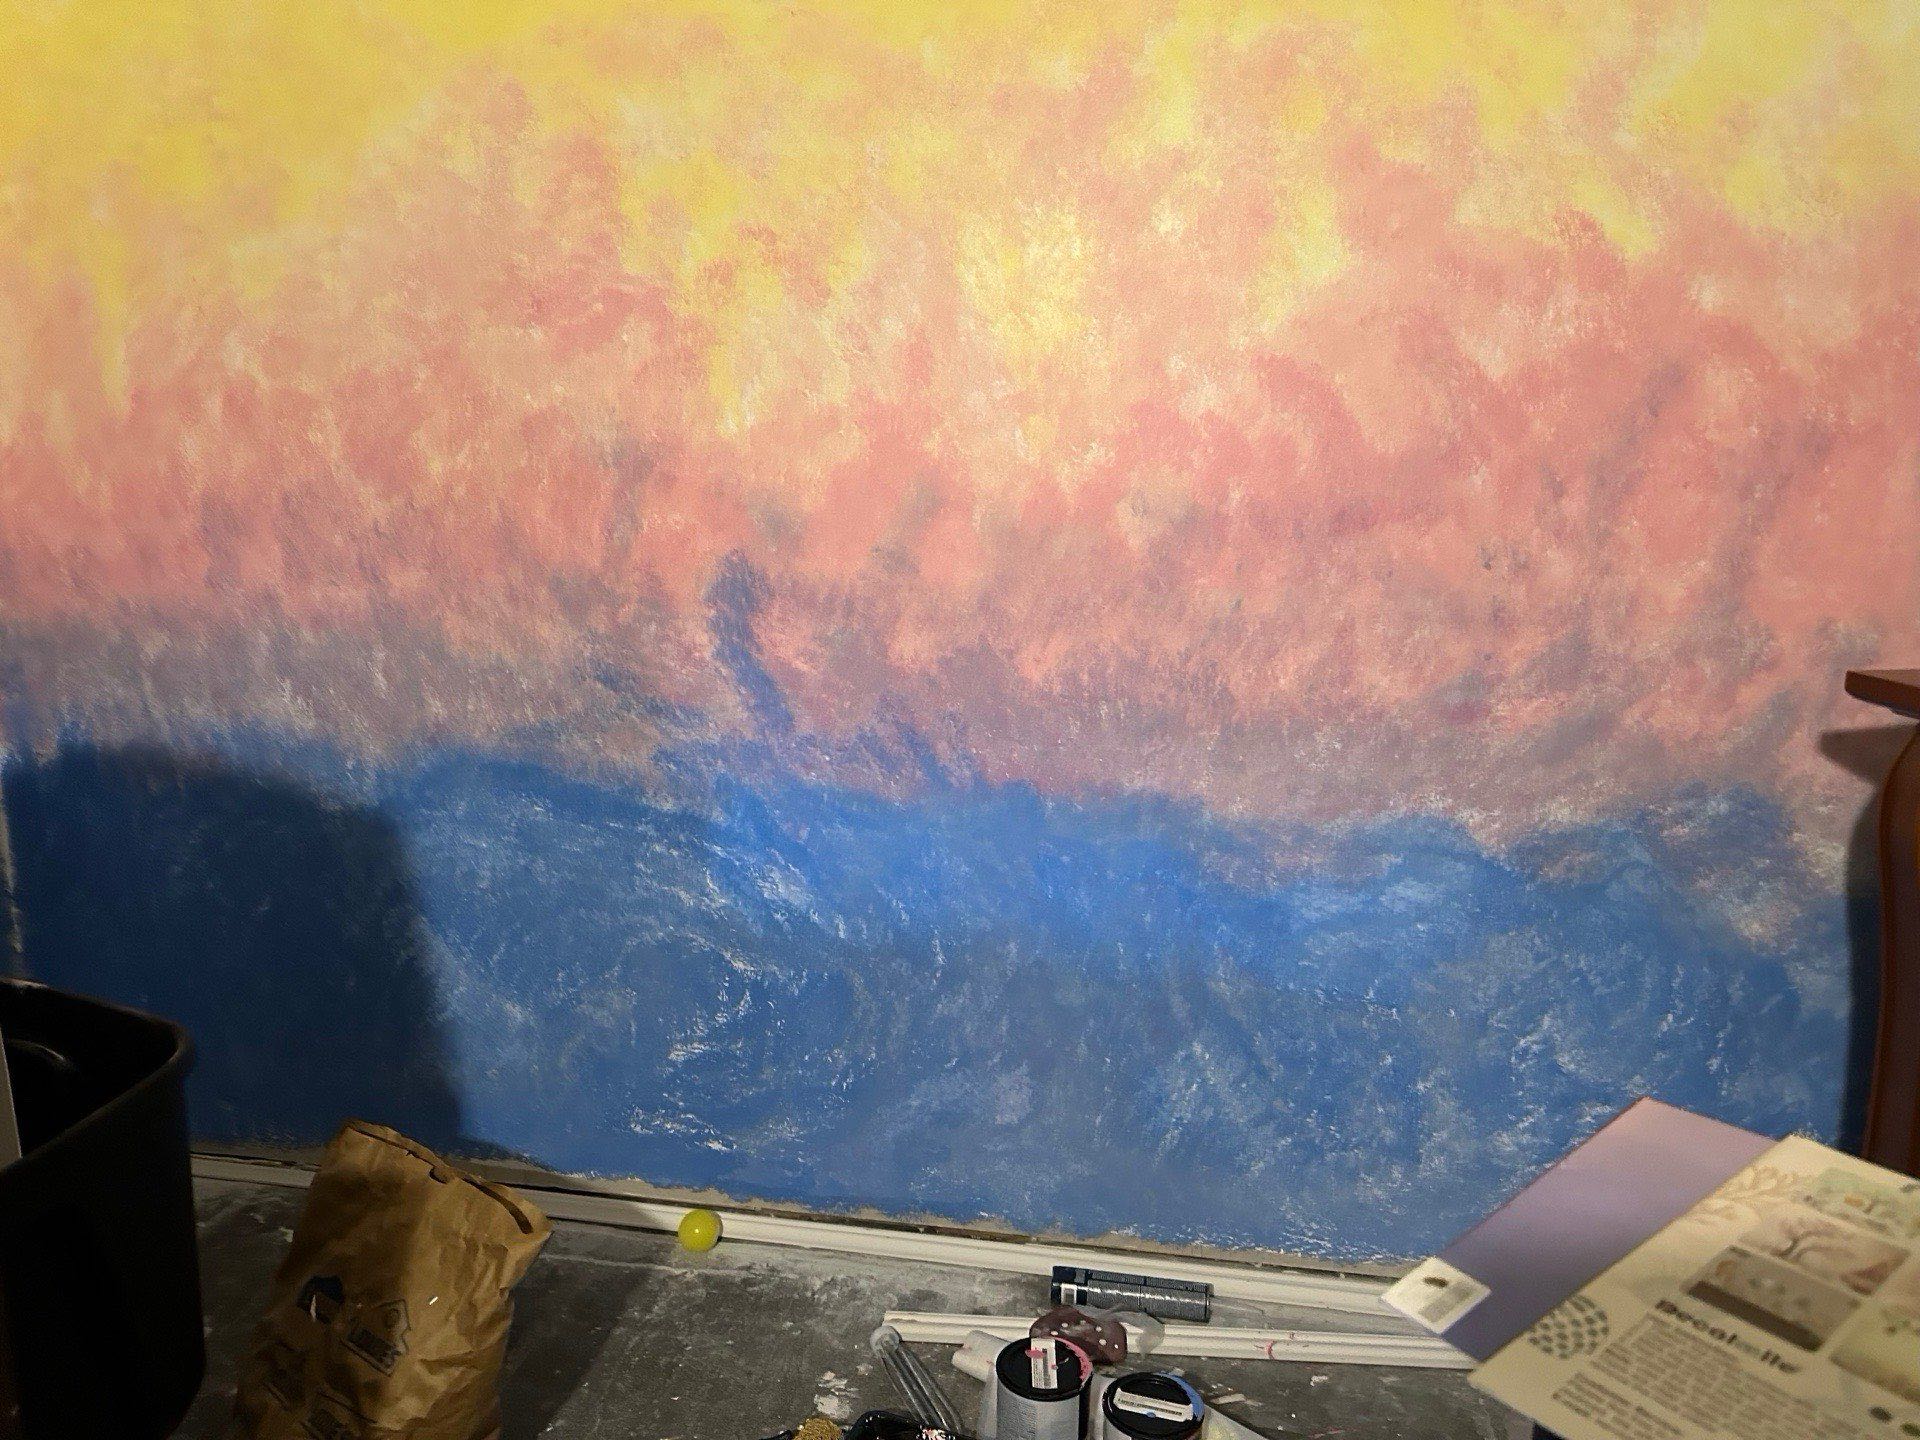
We decided for the colors to start from darkest and coolest to lightest and warmest. I think there are so many combinations and directions you could play with and they would all turn out really well.
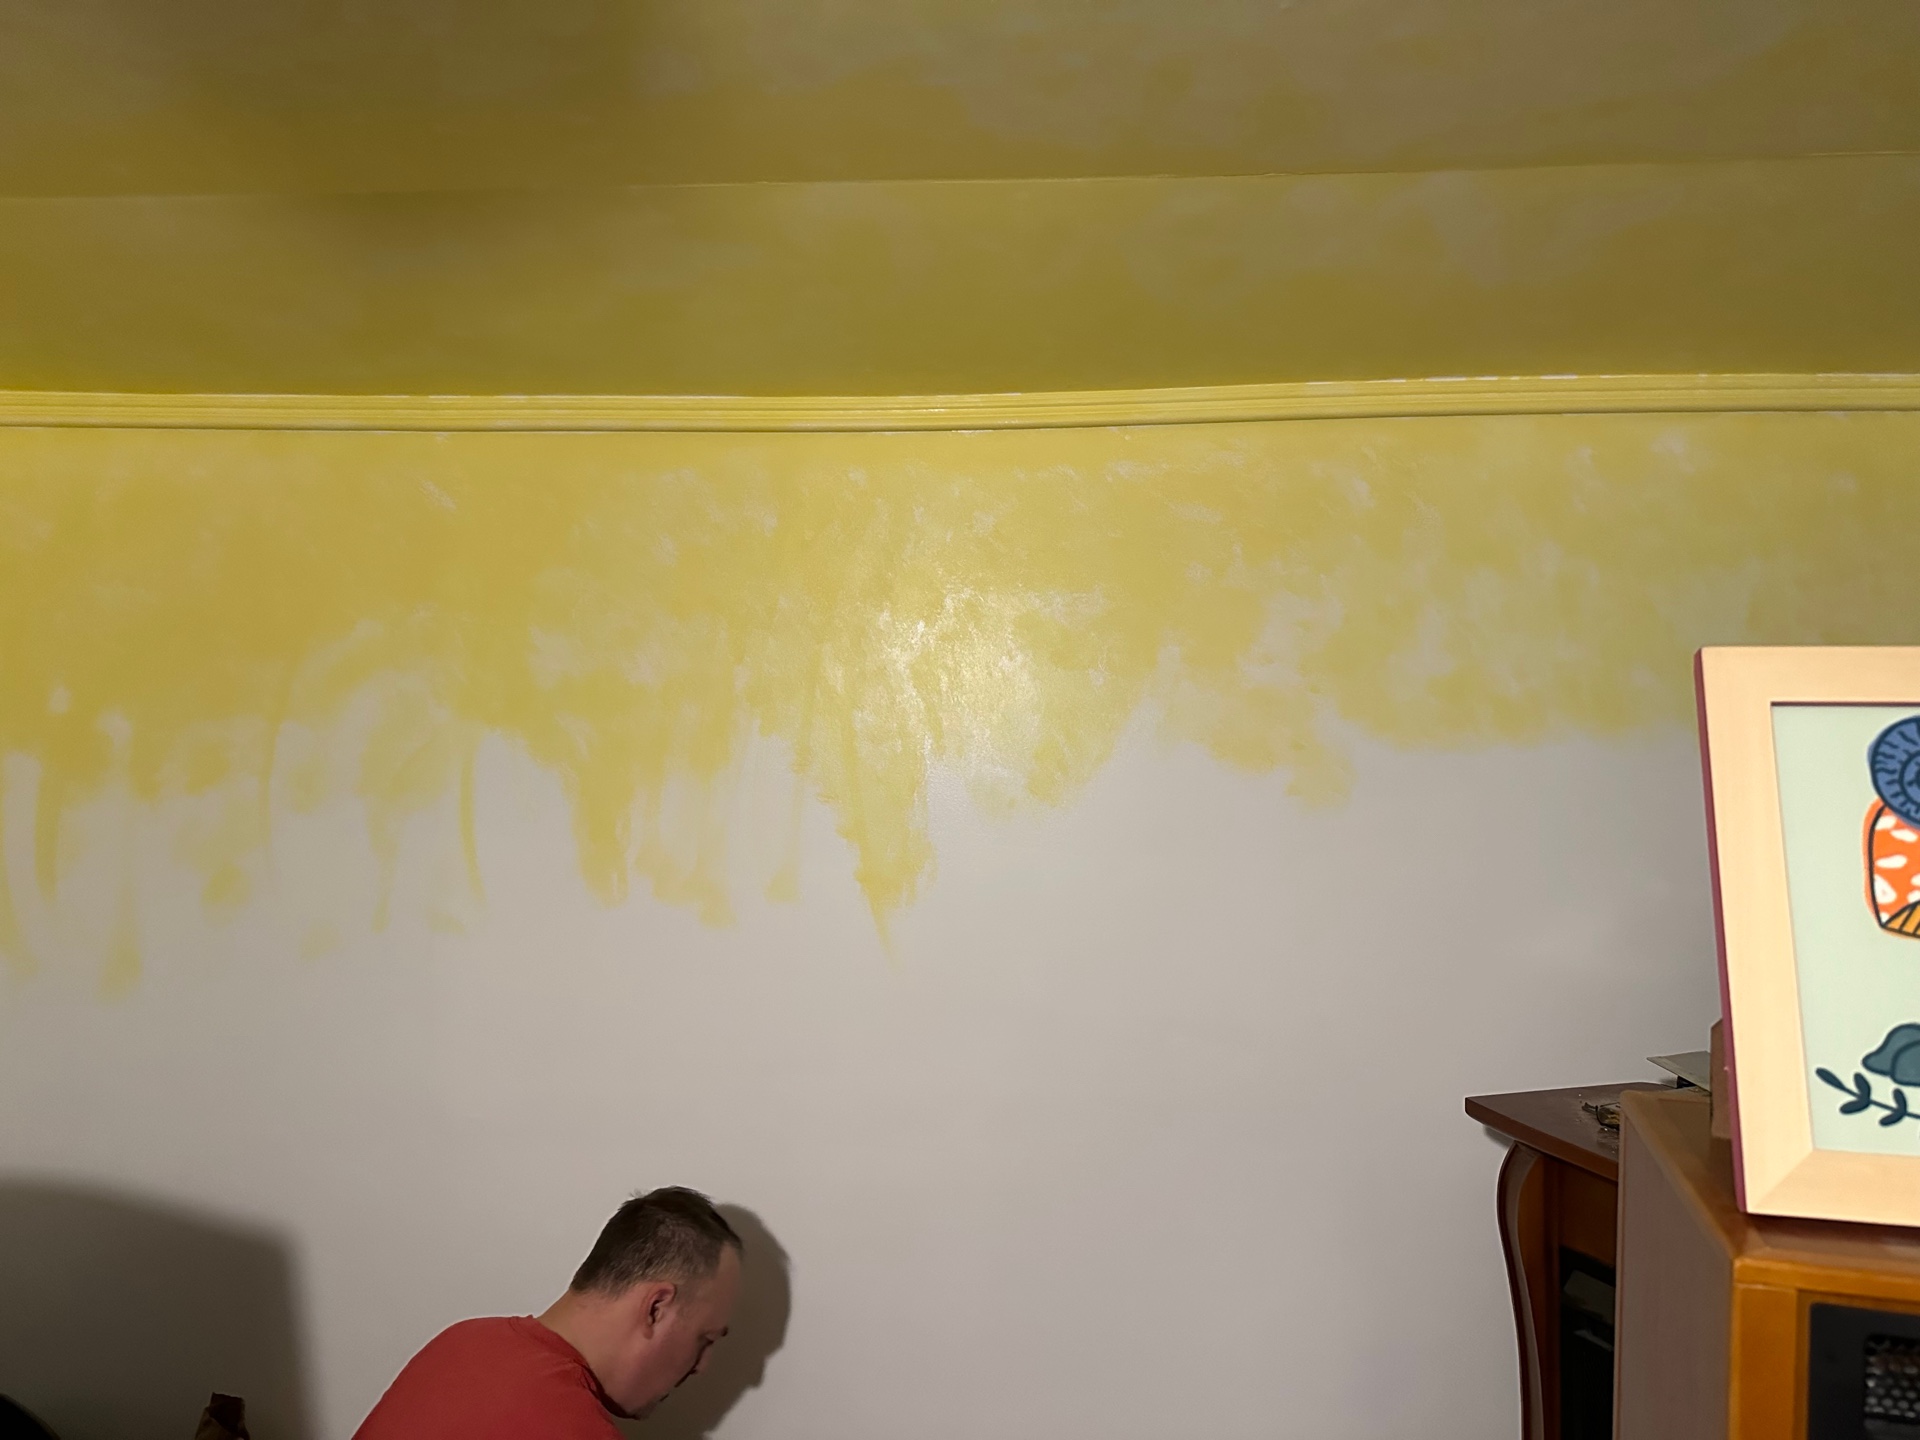
Start sponging with your lightest color
This isn't a hard rule, but I think it might help not to get too dark and saturated too quickly. We sponged the whole entire area and never used a brush.
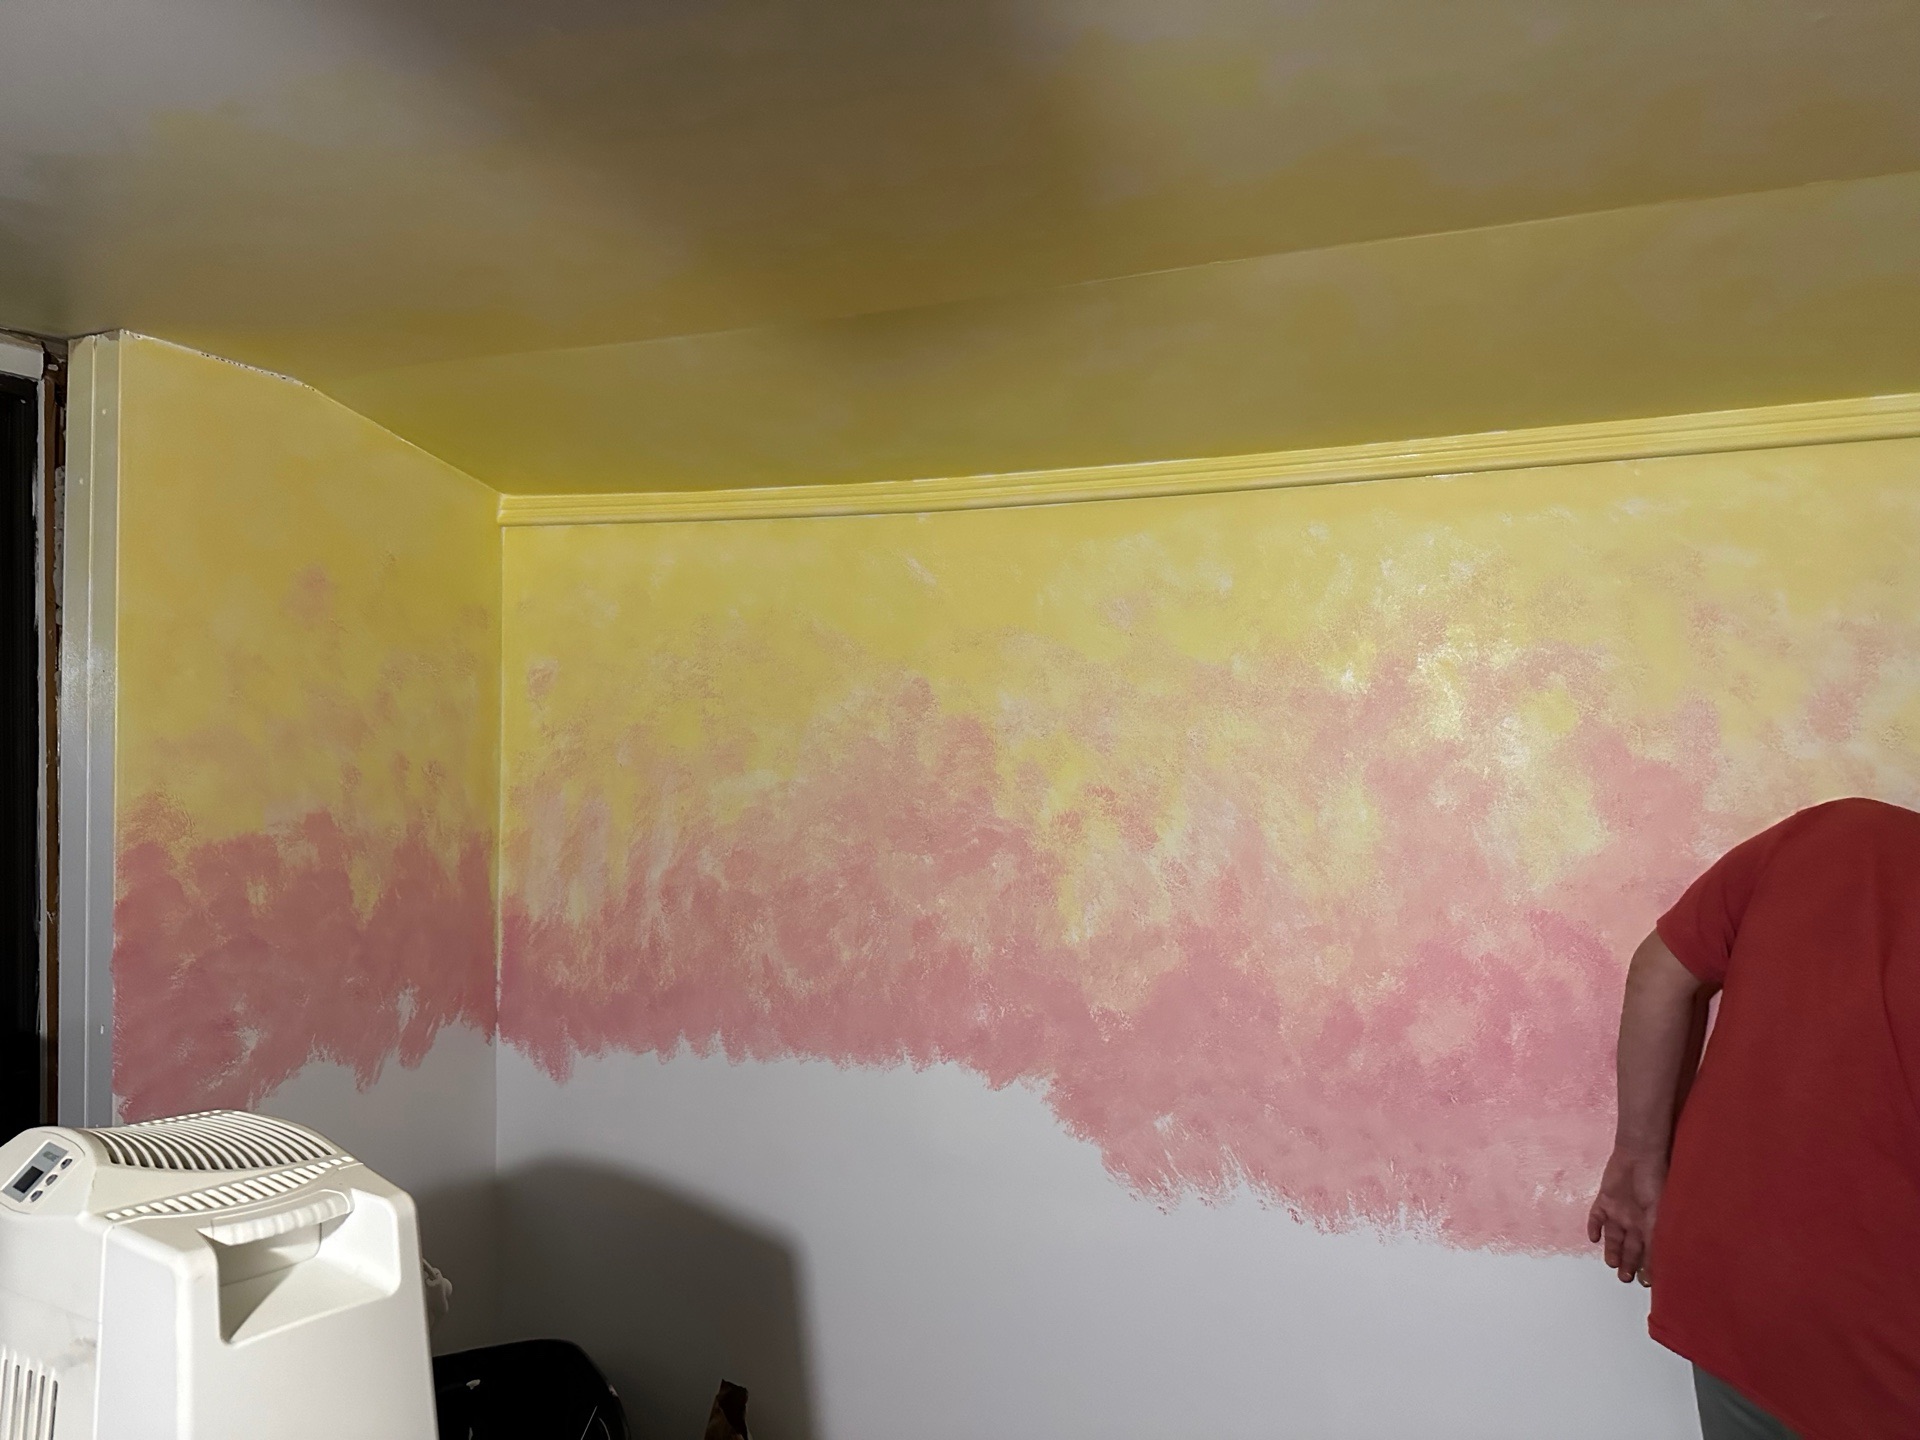
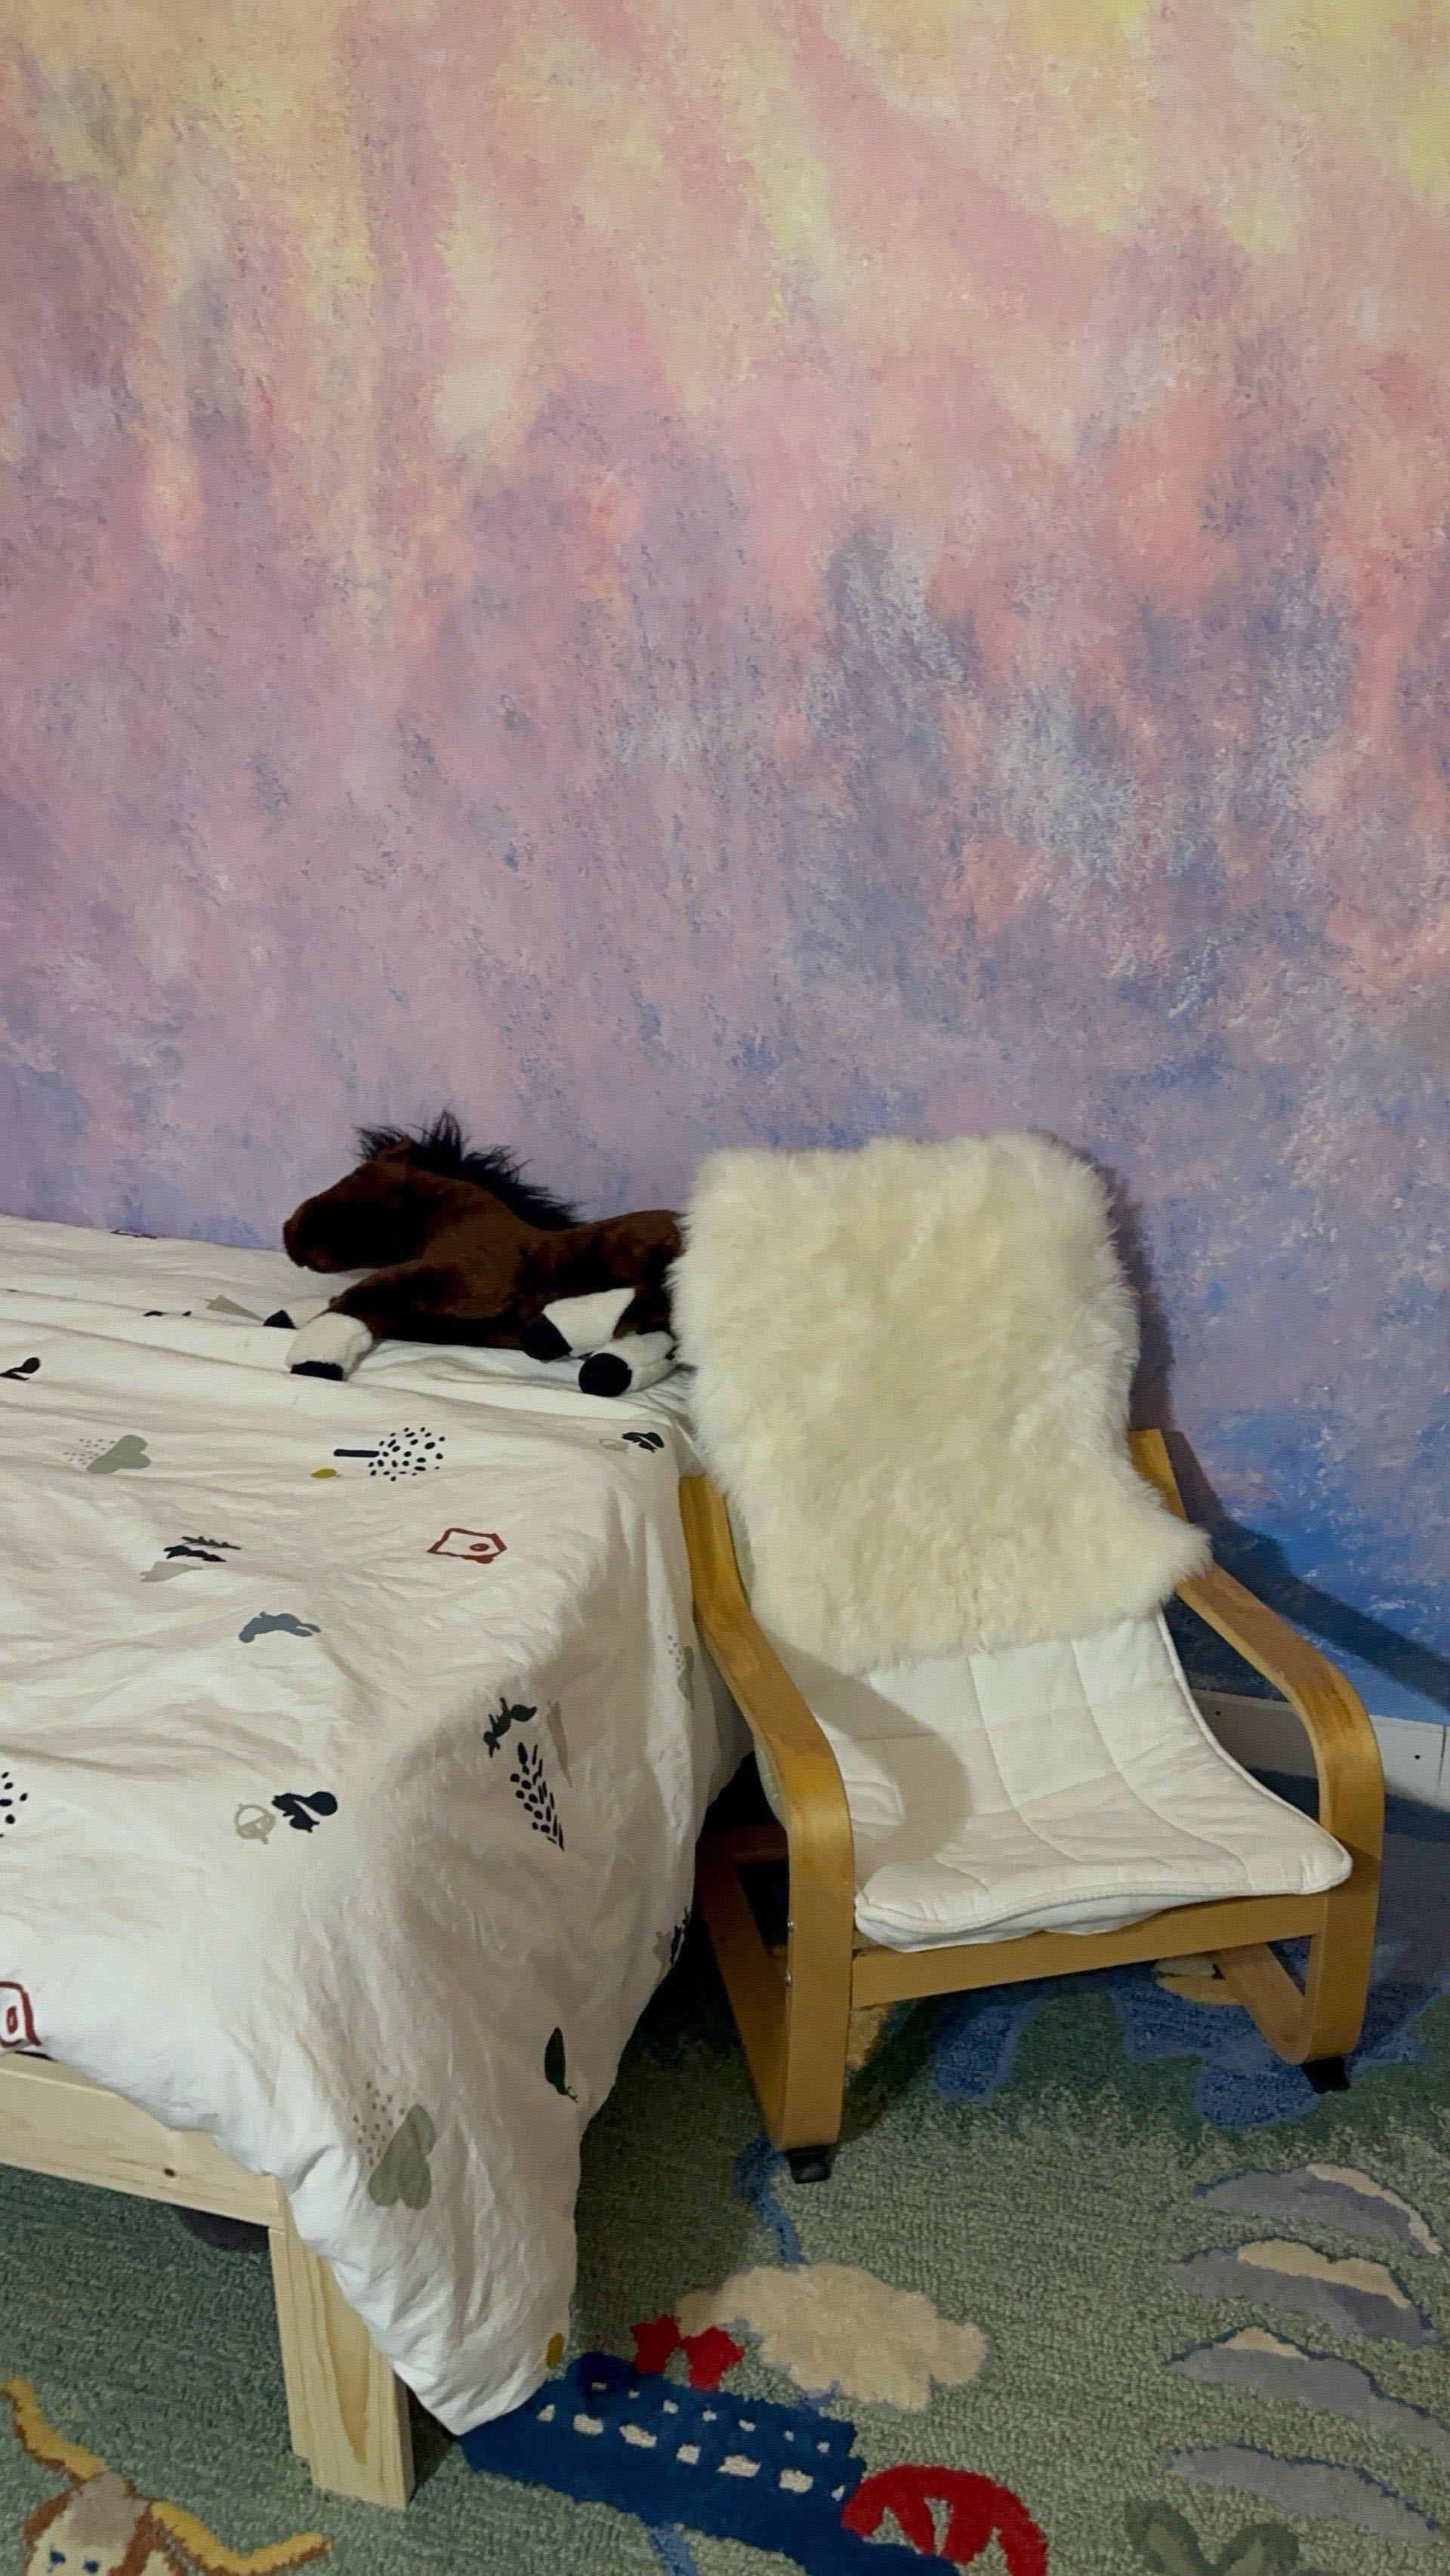
Think about color transition and movement.
How do your colors flow into one another? Are patterns visible that create shapes or waves? Perhaps things are more well blended and the transitions are almost invisible. Whichever way you choose be open to shifts as you go along and have fun!
Please feel free to share your own #waldorfinspiredlazure painting and tag us!


Comments
Post a Comment